Guide
How to edit a video podcast in DaVinci Resolve, step by step
By Lev PerlmanUpdated 8 min read
To edit a video podcast in DaVinci Resolve, import every camera and microphone recording, put them in one multicam clip synced by sound, cut between the angles on the Edit page as the conversation plays, then level the dialogue on the Fairlight page and export from the Deliver page. All of that works in the free version. This guide goes through each step, and notes where the paid Studio version would save you time.
These steps follow the menus in DaVinci Resolve 20 and 21. Older versions use most of the same names, but some options (such as reference audio for multicam clips) were added in version 20.1
Before you start: free or Studio?
The free DaVinci Resolve covers a complete podcast edit. Studio adds the automatic tools. From Blackmagic Design's feature list for version 21.1:2
| Feature | Free | Studio |
|---|---|---|
| Creating multicam clips | Yes | Yes |
| Dialogue Leveler | Yes | Yes |
| Multicam SmartSwitch (automatic angle switching) | No | Yes |
| Voice Isolation | No | Yes |
| Fairlight Audio Assistant (automatic mix) | No | Yes |
| Subtitles and transcriptions from audio | No | Yes |
If you only edit the odd episode, start with the free version. You can upgrade later without changing how you work.
Step 1: Set up the project and organise the media
- Create a new project and open File > Project Settings. Set the timeline resolution and frame rate to match your main camera, for example 1920 × 1080 at 25 fps.
- Import the files with File > Import > Media, or drag them into the Media Pool.
- Make one bin per person or per source ("Host camera", "Guest camera", "Wide", "Mics"), and rename each clip after the person it shows.
- If a camera split the recording into several files, keep them together and in order.
Clear names make the rest of the edit easier: when you are switching between four angles, "Sarah close" is quicker to find than "C0042".
Step 2: Create a multicam clip synced by sound
- In the Media Pool, select every camera clip and audio file from the session.
- Right-click and choose Create New Multicam Clip Using Selected Clips.
- Set Angle Sync to Sound. Resolve can also sync by timecode or in and out points, but sound needs no preparation.3
- If you have a separate audio recording, set Multicam Audio to Reference Audio/Angle 1. Resolve uses the first audio-only angle as the sound for every angle, so the audio stays the same whichever camera you cut to.1
- Click Create, then drag the new multicam clip onto an empty timeline.
A multitrack recorder file, with one channel per microphone, works well as the reference audio angle: you can still reach each person's channel afterwards by Command-right-clicking the clip on the timeline.1
If the sync fails, check that every camera recorded sound, and trim long stretches before the conversation starts. Our syncing guide covers the common problems.
Step 3: Cut between the cameras
- On the Edit page, switch the source viewer to Multicam (the menu at the top left of the viewer). You now see every angle at once.
- Set the switching mode to video only, so cutting between cameras never changes the sound.
- Play the timeline. Click an angle, or press its number key, to cut to that camera as the conversation happens.
- Do the whole episode in one pass. You will fix the details in the next step.
Rules of thumb for a natural conversation edit:
- Show the person speaking. Cut shortly after a new speaker starts, not on the first syllable.
- Hold shots. Very short shots feel frantic. Do not cut away for a one-word interjection.
- Use reactions on long answers. A short shot of the listener nodding or laughing breaks up a long take.
- Go wide when people overlap. If two people talk at once, a wide shot shows both.
Letting Resolve Studio make the first pass
In DaVinci Resolve Studio 20 and later, you can skip the manual pass: right-click the multicam clip on the timeline, choose Multicam SmartSwitch, pick the settings and click Analyze. It chooses each angle from the audio, lip movement and whether the shot is wide or close, and you can set a minimum shot length, how long it waits after a new speaker before cutting, and how often it uses the wide shot.1 Blackmagic describes it as a first pass for you to finesse, so still watch it back.
Step 4: Refine the cuts
Watch the edit back and fix any cut that lands too early or too late.
- To change the camera for a section, right-click it and choose another angle from Switch Multicam Clip Angle.1 Every angle is still inside the multicam clip, so nothing is lost.
- To move a cut point, drag the edit with the trim tool. A rolling edit moves the cut without changing the length of the episode.
- To remove a false start or a long pause, cut it out across all tracks so the sound and picture stay in sync.
Step 5: Clean up the sound on the Fairlight page
Open the Fairlight page and work through the dialogue:
- Level it. The Dialogue Leveler, in the free version, smooths out loud and quiet passages without drawing volume curves by hand.4 You can also select clips, right-click and use Normalize Audio Levels to bring them to a common peak or loudness level as a starting point.5
- Remove background noise. In Studio, Voice Isolation separates speech from background sound, which Blackmagic describes as suited to interviews recorded in noisy places.4
- Deal with mic bleed. If each person's microphone picked up the others, see how to remove mic bleed.
- Check the loudness. Keep an eye on the loudness meter in the Fairlight mixer, and aim for the target your podcast host or platform recommends.
In Studio, the Fairlight Audio Assistant (Timeline > AI Tools > Audio Assistant) can do a first mix for you. It evens out the dialogue, ducks music and adds the processing needed to reach the delivery standard you choose.1
Step 6: Export the episode
- Video for YouTube: use File > Quick Export and choose the YouTube preset. From version 20 you can also save your own presets to Quick Export.1 For more control, use the Deliver page.
- Audio for podcast apps: on the Deliver page, turn off Export Video in the render settings, choose an audio format and render the timeline as audio only.
- Short clips: duplicate the timeline, change it to a vertical resolution and cut out the best moments. Our guide to turning a podcast into short clips covers what to pick, and the captions guide covers subtitles in Resolve.
Keep the project. It is the source for every clip, trailer and re-edit you make later.
Speed up the busywork with an AI assistant (MCP)
DaVinci Resolve 21.1 added a native MCP server, so assistants such as Claude, Claude Code and ChatGPT's Codex can work in your project when you ask in plain English.6 It needs DaVinci Resolve Studio in practice, because 21.1 moved advanced scripting to Studio.6 To set it up, install the assistant, then choose File > Setup AI Assistants in Resolve. Our Resolve MCP guide covers each assistant step by step.
Jobs that suit it on a podcast:
- Organising: "Rename the camera clips after the people in them and sort them into Host, Guest, Wide and Mics bins."
- Show notes: "Export the markers on this timeline to a CSV with timecodes", after you have marked each topic as you edit.
- Versions: "Duplicate this timeline as a 1080 × 1920 vertical version for Shorts."
- Renders: "Queue an H.264 master for YouTube and an audio-only WAV of the episode."
Keep the creative decisions for yourself, back up your project library before you start, and check every change before you render.
Watch it done
If you would rather see the whole workflow on screen, this independent tutorial covers a multicam podcast edit in DaVinci Resolve from setup to export.
Doing the first pass automatically, in the free version
Steps 2 and 3 are the slow, repetitive part, and they are what podswitch does before you open Resolve. It syncs every camera and microphone by sound, decides each cut from each speaker's own microphone (the speaker, reaction shots on long answers, the wide when people talk over each other) and builds a dialogue mix with the bleed removed.
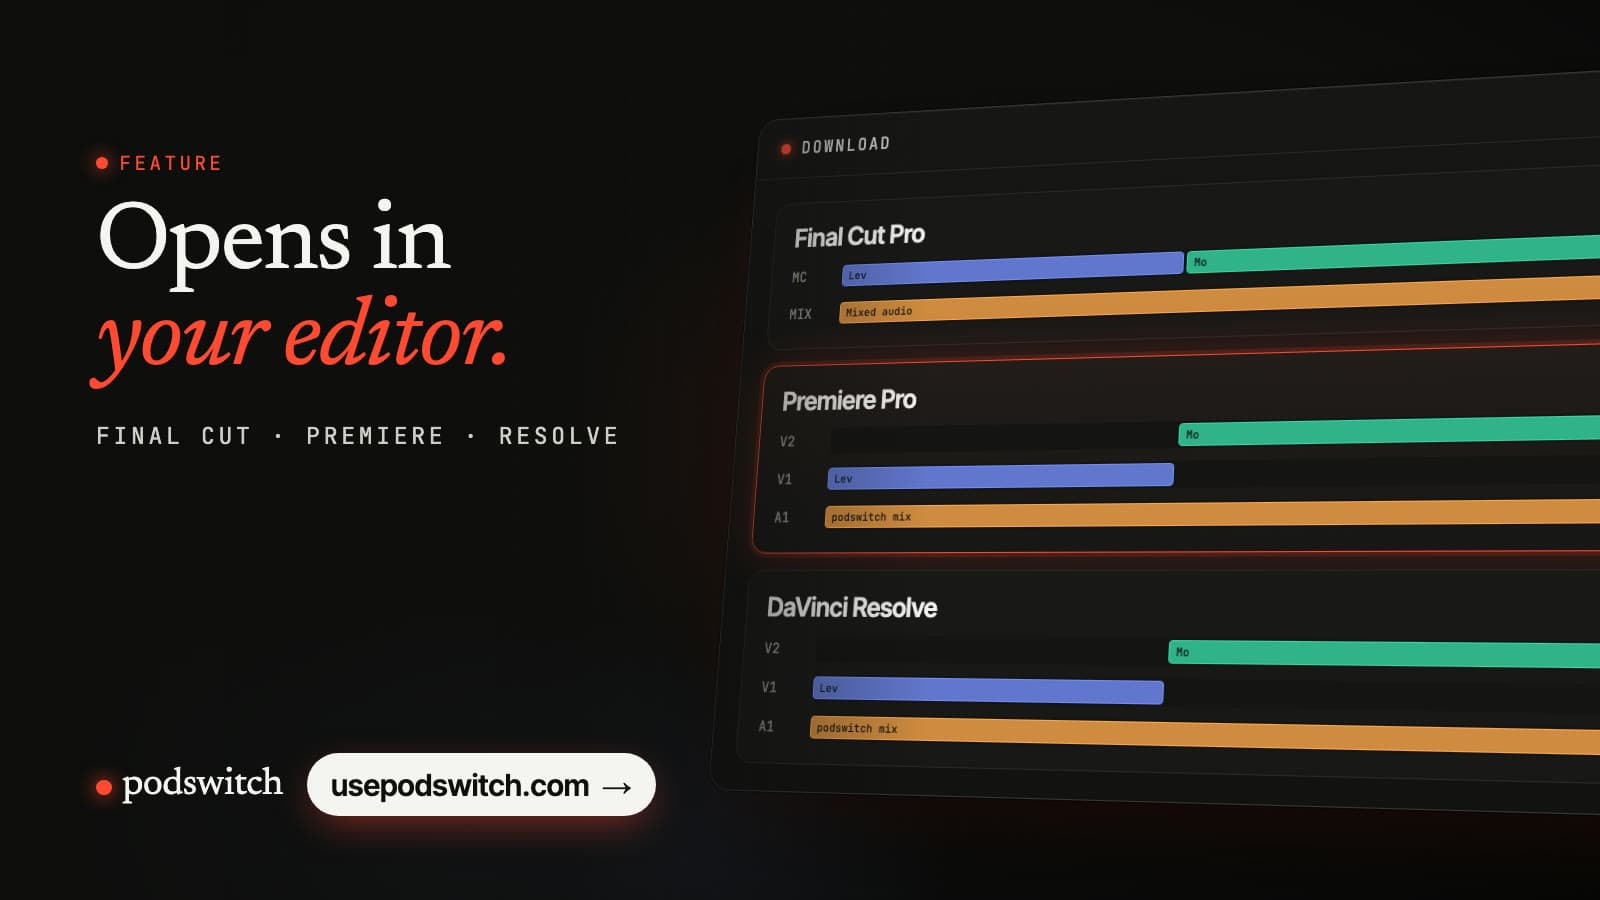
You get an XML file. In DaVinci Resolve, import it with File > Import > Timeline and the episode opens already cut, with one track per camera and the mix on the first audio track. It works in the free version of Resolve, and your video stays on your computer: podswitch only uploads the audio. You start at Step 4.
Editing in a different program? See the guides for Final Cut Pro and Premiere Pro.
Sources
-
Blackmagic Design, "DaVinci Resolve 20 New Features Guide" (Multicam SmartSwitch, reference audio for multicam clips, AI Audio Assistant, Quick Export presets). https://documents.blackmagicdesign.com/SupportNotes/DaVinci_Resolve_20_New_Features_Guide.pdf ↩ ↩2 ↩3 ↩4 ↩5 ↩6 ↩7
-
Blackmagic Design, "DaVinci Resolve 21.1 Studio and iPad Features". https://documents.blackmagicdesign.com/SupportNotes/DaVinci_Resolve_Studio_21_Features.pdf ↩
-
Blackmagic Design, DaVinci Resolve Edit page. https://www.blackmagicdesign.com/products/davinciresolve/edit ↩
-
Blackmagic Design, "Blackmagic Design Announces DaVinci Resolve 18.1", 11 November 2022. https://www.blackmagicdesign.com/media/release/20221111-01 ↩ ↩2
-
Blackmagic Design, "The Fairlight Audio Guide to DaVinci Resolve 18". https://documents.blackmagicdesign.com/UserManuals/DaVinci-Resolve-18-Fairlight-Audio-Post.pdf ↩
-
Blackmagic Design Forum, "DaVinci Resolve 21.1 Update" release notes, 8 September 2026. https://forum.blackmagicdesign.com/viewtopic.php?f=21&t=239823 ↩ ↩2
Common questions
Can you edit a podcast in the free version of DaVinci Resolve?
Yes. Creating multicam clips, syncing by sound and the Dialogue Leveler are all in the free version. Multicam SmartSwitch, Voice Isolation, the Fairlight Audio Assistant and transcription from audio need DaVinci Resolve Studio, according to Blackmagic Design.
Can DaVinci Resolve switch podcast cameras automatically?
DaVinci Resolve Studio 20 and later has Multicam SmartSwitch, which cuts to the active speaker using the audio, lip movement and whether a shot is wide or close. It is not in the free version.
Do I need a clapperboard to sync podcast cameras in DaVinci Resolve?
No. When you create a multicam clip, set Angle Sync to Sound and Resolve lines the angles up by their audio waveforms. Every camera needs to have recorded some sound, even from its built-in microphone.
Which page of DaVinci Resolve should I edit a podcast on?
Use the Edit page for the multicam cut and trimming, the Fairlight page for the sound, and the Deliver page (or Quick Export) to export.