Guide
How to edit a video podcast in Premiere Pro, step by step
By Lev PerlmanUpdated 7 min read
To edit a video podcast in Premiere Pro, select every camera and microphone recording, create a multi-camera source sequence synced by audio, make an editing sequence from it, cut between cameras in the Program Monitor's multi-camera view as the conversation plays, then clean up the dialogue in the Essential Sound panel and export. This guide follows Adobe Premiere 26.5, the current version at the time of writing.1 Adobe now calls the app Adobe Premiere; it is the same program.
Before you start
- Premiere. Adobe lists the single app plan at £21.98 a month including VAT, on an annual plan billed monthly, with a 7-day free trial.2
- Every recording from the session: each camera, and each person's microphone if you recorded them separately.
- Clear clip names. Rename each clip after the person or shot ("Sarah close", "Wide"). Premiere can name the cameras after the clips, which makes switching easier.3
Step 1: Create a multi-camera source sequence synced by audio
- Select the camera clips and audio files in the Project panel and choose Clip > Create Multi-Camera Source Sequence.3
- Choose Audio as the sync method, so Premiere lines the clips up by their sound.3
- Under the audio settings, choose how the sound behaves:3
- Camera 1 uses only the audio from Camera 1.
- All Cameras uses all the audio channels from every clip. Choose this to keep every microphone available.
- Switch Audio changes the audio along with the camera, which you rarely want in a podcast.
- Under camera names, choose Use Clip Names.3
- Click OK. Premiere creates the multi-camera source sequence in the Project panel.
If the sync fails, check that every camera recorded sound, and trim long stretches before the conversation starts. Our syncing guide covers the common problems.
Step 2: Make the editing sequence
- Right-click the multi-camera source sequence and choose New Sequence from Clip.4
- Add the multi-camera view button to the Program Monitor: open the Button Editor and drag Toggle Multi-Camera View onto the button bar.4
- Click it. The Program Monitor now shows every camera on the left and the edit on the right.
Step 3: Cut between the cameras
Play the sequence and switch as the conversation happens:
- Press a number key on the main keyboard to cut to the camera with that number, or click the camera in the multi-camera view.4
- Do the whole episode in one pass. You fix the details in the next step.
Rules of thumb for a natural conversation edit:
- Show the person speaking. Cut shortly after a new speaker starts, not on the first syllable.
- Hold shots. Very short shots feel frantic. Do not cut away for a one-word interjection.
- Use reactions on long answers. A short shot of the listener nodding or laughing breaks up a long take.
- Go wide when people overlap. If two people talk at once, a wide shot shows both.
Premiere does not make this first pass for you. As of version 26.5, Adobe's release notes list no automatic multicam switching,1 and Premiere AI Assistant (beta) lists organising bins, transcripts, markers, stringouts and rough assemblies, not switching cameras.5
Step 4: Refine the cuts
- Change a camera: select the clip in the timeline, then click another camera in the multi-camera view.4
- Move a cut: use the Rolling Edit tool, which moves the cut without changing the length of the episode.4
- Remove filler and pauses: transcribe the sequence with Window > Text and Generate static transcript,6 then use text-based editing to find and bulk-delete filler words such as "uh" and "umm".7 Text-based editing is included with your subscription and supports English (UK).7
Step 5: Clean up the sound
Open the Essential Sound panel, select the dialogue clips and tag them as Dialogue. The Dialogue tools cover unifying loudness, reducing background noise, compression and EQ.8
- Enhance Speech: in Essential Sound, select Enhance to make voices clearer, and use the Mix Amount slider to blend it back if it sounds processed.9 Adobe says it supports only mono and stereo files and outputs a mono downmix, and it can be slow on older computers.10
- Even out loudness: in the Loudness section, click Auto-Match. Premiere shows the resulting level in LUFS.11
- Duck the music: tag music as Music, then use Auto Ducking to lower it under the dialogue and Generate Keyframes.12
- Check the overall level: add Special > Loudness Meter to the mix track in the Audio Track Mixer,13 and aim for the target your podcast host or platform recommends.
- Mic bleed: if each person's microphone picked up the others, see how to remove mic bleed.
Step 6: Export the episode
- Video for YouTube: choose File > Export > Media (Command-M on a Mac, Ctrl+M on Windows), pick YouTube or Media File as the destination and use a preset such as Match Source – Adaptive High Bitrate.14 For a quick export, use the Quick Export icon at the top right.15
- Audio for podcast apps: export an audio-only file in WAV or MP3. Premiere's encoder supports WAV, MP3, AAC and AIFF.16
- Long exports: send them to Adobe Media Encoder so you can keep working while it renders.17
- Short clips: duplicate the sequence, change it to vertical and cut out the best moments. See turning a podcast into short clips and the captions guide.
Speed up the busywork with an AI assistant (MCP)
MCP lets an AI assistant such as Claude or ChatGPT's Codex control a program on your computer when you ask in plain English. Adobe has not released an official MCP server for desktop Premiere: a request for one on Adobe's community forum, opened in September 2026, had no response from Adobe when we checked.18 Independent open-source servers exist, and they work through Premiere's scripting.
- What it suits: renaming and sorting clips into bins, adding markers, building a rough stringout, setting up sequences and queuing exports.
- What it does not suit: the creative decisions, such as which camera to show and when.
- Be careful: these servers are not made or supported by Adobe. Try one on a copy of a project first and check every change.
Our Premiere MCP guide covers the options and the setup for Claude and ChatGPT step by step.
Watch it done
Two independent tutorials show the workflow on screen. The first is a long, podcast-specific course covering editing, Essential Sound, ducking and both video and audio exports. The second is a short guide to the multi-camera setup alone.
Doing the first pass automatically
Steps 1 to 3 are the slow, repetitive part, and they are what podswitch does before you open Premiere. It syncs every camera and microphone by sound, decides each cut from each speaker's own microphone (the speaker, reaction shots on long answers, the wide when people talk over each other) and builds a dialogue mix with the bleed removed. Your video stays on your computer: podswitch only uploads the audio.
You get an XML file. Import it with File > Import and the episode opens already cut, with each camera on its own track and the mix on the first audio track, on a Mac or on Windows. You start at Step 4.
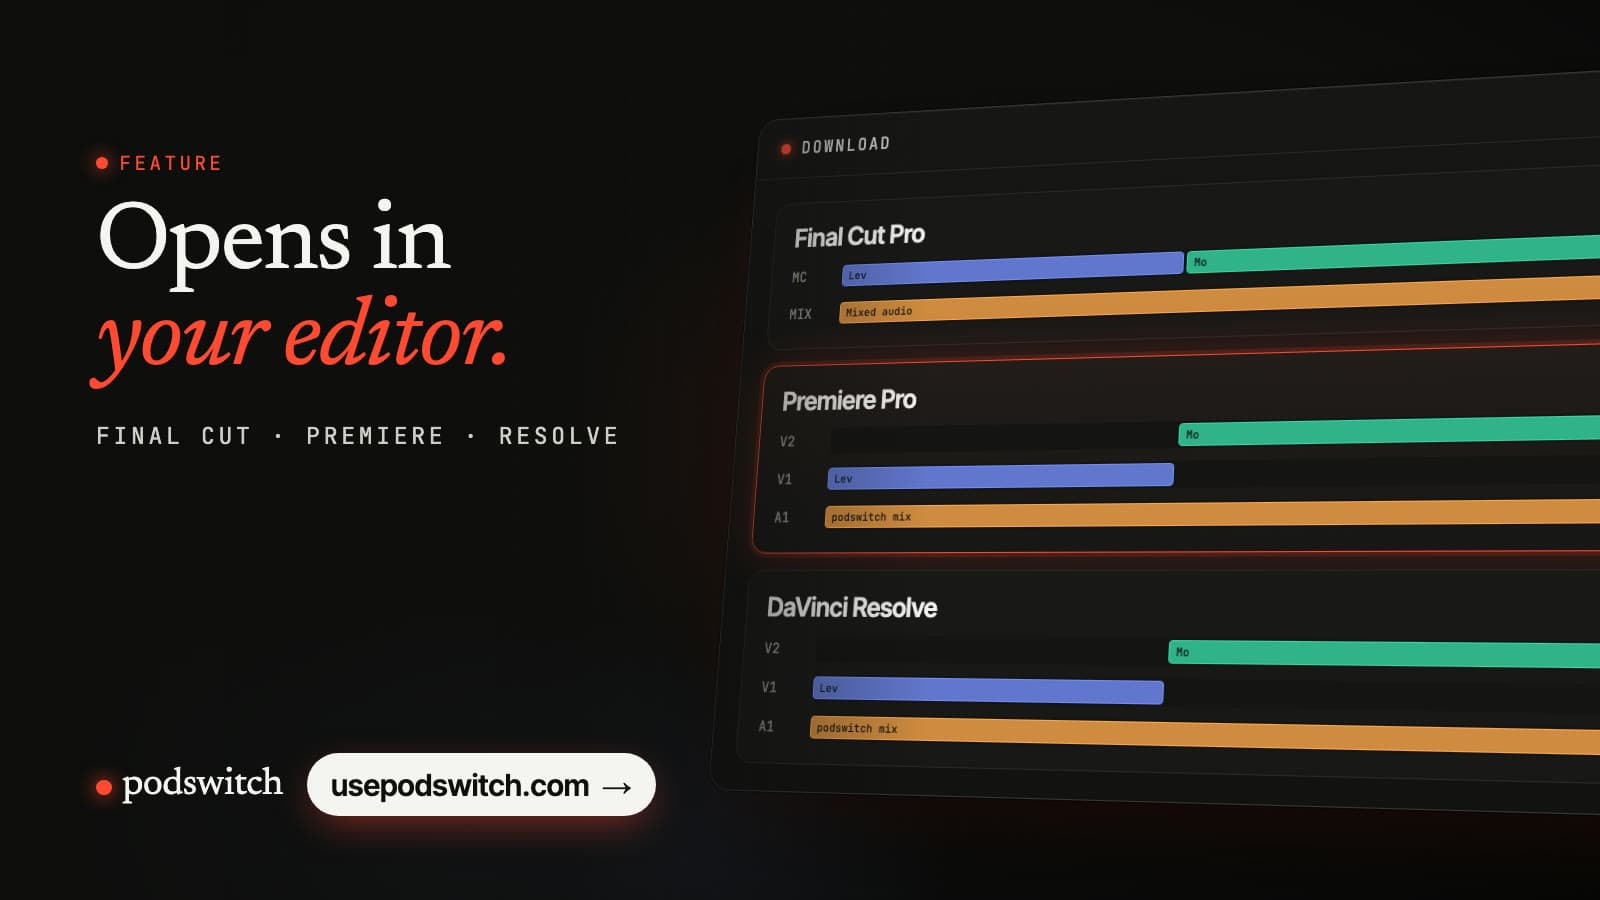
Editing in a different program? See the guides for DaVinci Resolve and Final Cut Pro.
Sources
-
Adobe Help, "Premiere release notes" (version 26.5, September 2026). https://helpx.adobe.com/premiere/desktop/whats-new/release-notes.html ↩ ↩2
-
Adobe UK, Premiere plans and pricing. https://www.adobe.com/uk/products/premiere/plans.html ↩
-
Adobe Help, "Create a multi-camera source sequence". https://helpx.adobe.com/premiere/desktop/edit-projects/set-up-multi-camera-sequences-for-editing/create-a-multi-camera-source-sequence.html ↩ ↩2 ↩3 ↩4 ↩5
-
Adobe Help, "Create and edit a multi-camera target sequence". https://helpx.adobe.com/premiere/desktop/edit-projects/set-up-multi-camera-sequences-for-editing/create-and-edit-a-multi-camera-target-sequence.html ↩ ↩2 ↩3 ↩4 ↩5
-
Adobe Help, "Premiere AI Assistant (beta) overview". https://helpx.adobe.com/premiere/desktop/premiere-ai-assistant/overview.html ↩
-
Adobe Help, "Auto-transcribe video using speech to text". https://helpx.adobe.com/premiere/desktop/add-text-images/insert-captions/auto-transcribe-video-using-speech-to-text.html ↩
-
Adobe Help, "Overview of text-based editing". https://helpx.adobe.com/premiere/desktop/edit-projects/edit-video-using-text-based-editing/overview-of-text-based-editing.html ↩ ↩2
-
Adobe Help, "Audio editing with the Essential Sound panel". https://helpx.adobe.com/premiere/desktop/add-audio-effects/adjust-volume-and-levels/audio-editing-with-essential-sound-panel.html ↩
-
Adobe Help, "Enhance Speech". https://helpx.adobe.com/premiere/desktop/add-audio-effects/adjust-volume-and-levels/enhance-speech.html ↩
-
Adobe Help, "Enhance Speech technical requirements". https://helpx.adobe.com/premiere/desktop/add-audio-effects/adjust-volume-and-levels/enhance-speech-technical-requirements.html ↩
-
Adobe Help, "Auto-match audio loudness". https://helpx.adobe.com/premiere/desktop/add-audio-effects/adjust-volume-and-levels/auto-match-audio-loudness.html ↩
-
Adobe Help, "Automatically duck audio". https://helpx.adobe.com/premiere/desktop/add-audio-effects/adjust-volume-and-levels/automatically-duck-audio.html ↩
-
Adobe Help, "Apply the Loudness Meter to a track". https://helpx.adobe.com/premiere/desktop/add-audio-effects/apply-audio-effects/apply-loudness-meter-to-a-track.html ↩
-
Adobe Help, "Export video". https://helpx.adobe.com/premiere/desktop/render-and-export/export-files/export-video.html ↩
-
Adobe Help, "Quickly export a video file". https://helpx.adobe.com/premiere/desktop/render-and-export/export-files/quickly-export-a-video-file.html ↩
-
Adobe Help, "File formats supported for export" (Adobe Media Encoder). https://helpx.adobe.com/media-encoder/desktop/encoding-quick-start-and-basics/file-formats-supported-export.html ↩
-
Adobe Help, "Export directly to Adobe Media Encoder". https://helpx.adobe.com/premiere/desktop/render-and-export/export-files/export-directly-to-adobe-media-encoder.html ↩
-
Adobe Community, "Official Model Context Protocol (MCP) server for Premiere Pro" (feature request). https://community.adobe.com/feature-requests-730/official-model-context-protocol-mcp-server-for-premiere-pro-1644303 ↩
Common questions
Is Premiere Pro now called Adobe Premiere?
Yes. Adobe's help pages now call the desktop app Adobe Premiere. The tools and workflow in this guide are the same, and most people still search for Premiere Pro.
Can Premiere Pro switch podcast cameras automatically?
Not as of version 26.5. Adobe's release notes list no automatic multicam switching. Premiere AI Assistant, in beta, helps with organising, transcripts, markers and rough assemblies, but multicam switching is not on its list of tasks.
How do I keep the same audio when switching cameras in Premiere Pro?
When you create the multi-camera source sequence, set the audio to Camera 1 or All Cameras rather than Switch Audio. Then the sound stays the same whichever camera you cut to.
How much does Premiere Pro cost in the UK?
Adobe lists the Premiere single app plan at £21.98 a month including VAT, on an annual plan billed monthly, with a 7-day free trial.